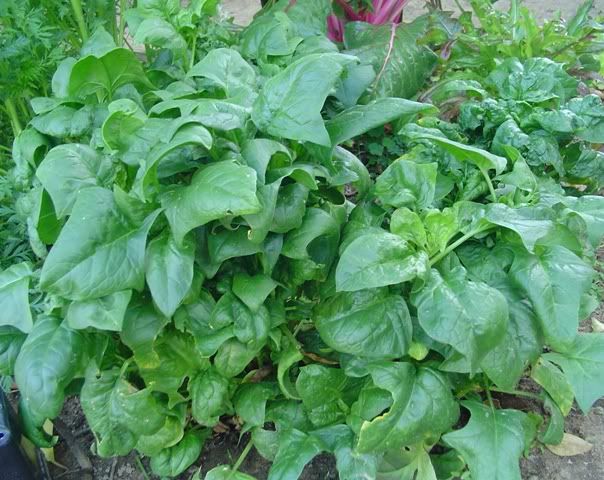
Spinach
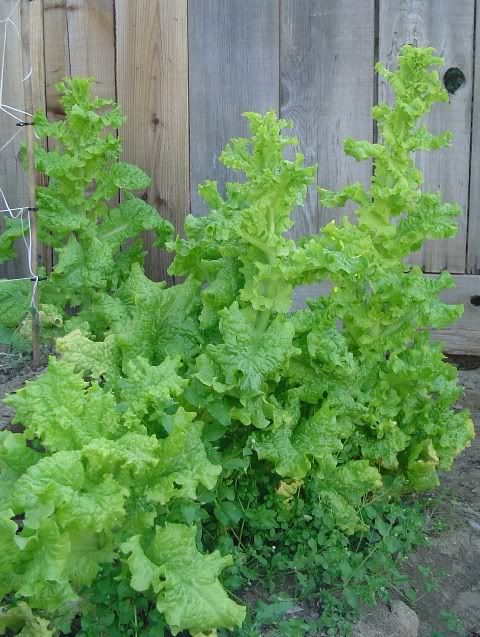
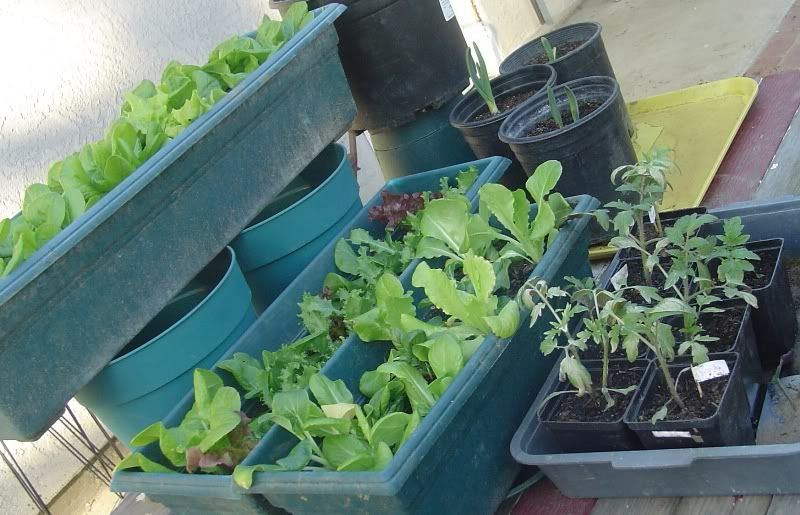
Lettuce volunteers
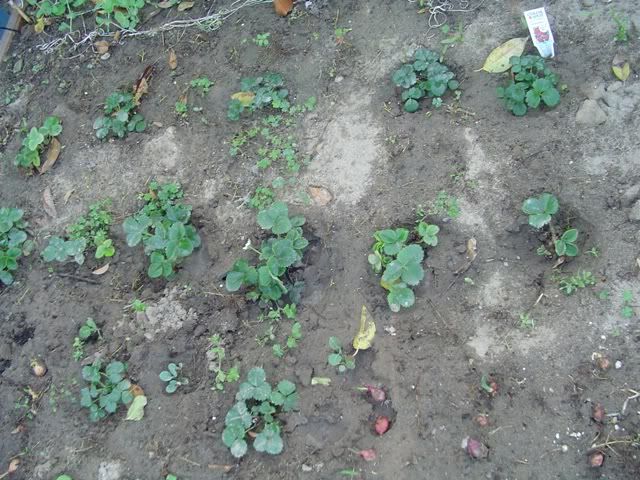
Strawberries
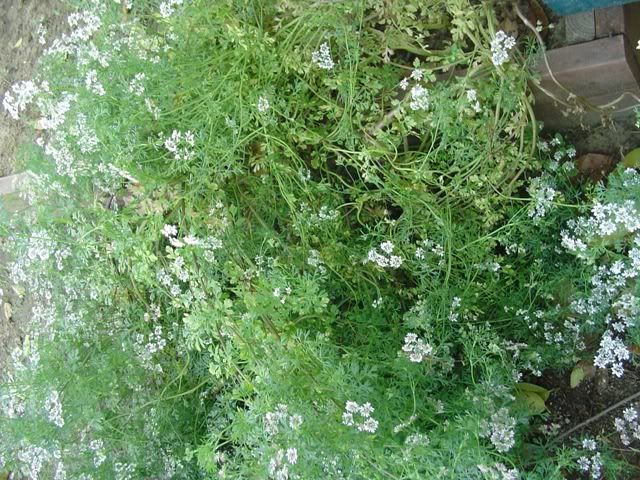
Cilantro

Carrots
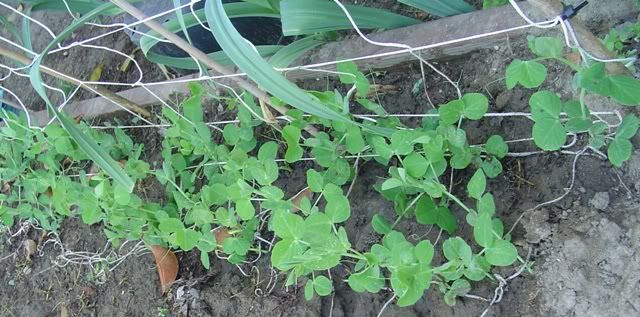
Peas
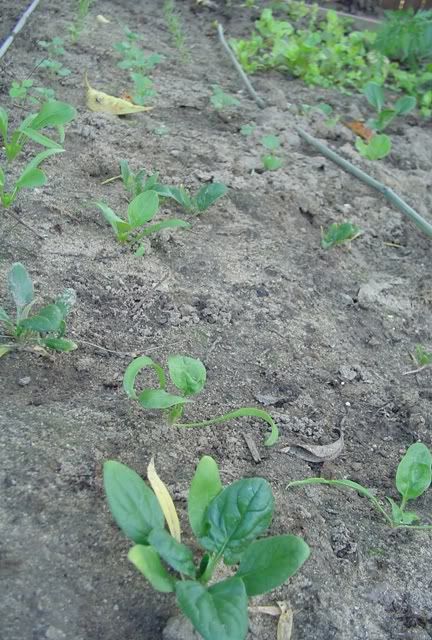
Spinach seedlings
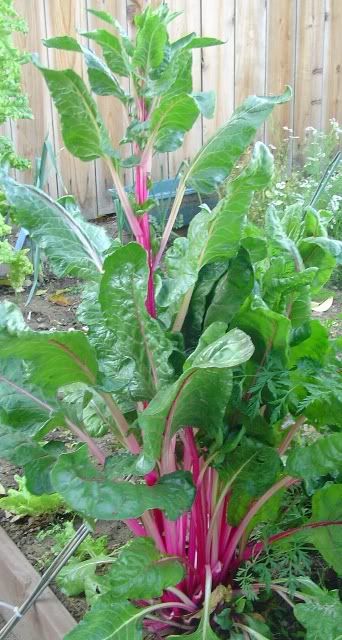
Swiss Chard
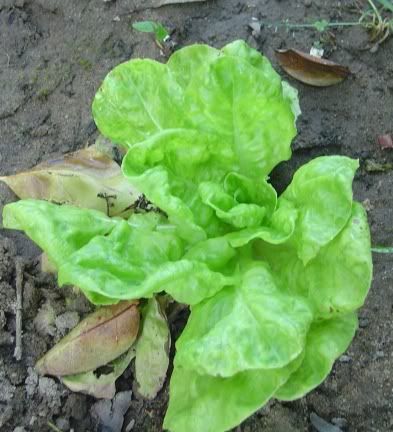
Bibb lettuce


| What to Freeze | Time to Freeze | How to Freeze |
| Berries | Spring to Fall | Wash your produce, air dry and freeze |
| Broccoli | Spring and Fall | Cut into bite-size pieces, blanch in boiling water for 30 seconds to 1 minute, cool in ice bath for 2 minutes, drain and freeze |
| Chard | Spring, Summer, and Fall | Blanch until wilted (several minutes) It will look like wilted spinach. Cool in ice bath, drain, and freeze in small batches |
| Edamame (soybeans) | Summer to Fall | Simmer pods in salted water for approximately 5 minutes. Cool in ice bath for 2 minutes, drain, and freeze |
| Peas | Spring to Fall | Blanch in boiling water for a minute. Cool in ice bath for 2 minutes, drain and freeze |
| Peppers | Summer to Fall | Slice, blanch in boiling water for 1 minute, cool in ice bath for 2 minutes, drain and freeze |
| Snap beans | Summer to Fall | Blanch in boiling water for a minute. Cool in ice bath for 2 minutes, drain and freeze |
| Spinach | Spring to Fall | Blanch until wilted (several minutes) Cool in ice bath, drain, and freeze in small batches |
| Sweet corn | Summer | Cut kernels from cobs, simmer in hot water for 2-3 minutes. Cool in ice bath, drain, and freeze in small batches |

 by Mel Bartholomew
Yesterday, I started another tray of seeds. I love starting seeds and seeing each little seed's progress through the upcoming days.
Here's a list of what I planted:
Tomatoes:
Patio Tomato (Burpee)
San Marzano Plum Tomato (Wintersown)
Oregon Spring Tomato (Wintersown)
Campbell's Tomato (Campbell's)
Beefsteak Tomato (American Seeds)
Marglobe Tomato (Groco Seeds)
Sweet Gold (Tomato Growers)
Supersweet 100 Tomato (Burpee)
Eggplant:
Little Prince Eggplant (Renee's Garden)
Peppers:
Cubanelle Pepper (Lawn and Garden)
Sweet Banana Pepper (Ferry Morse)
Jalapeno Pepper (Ferry Morse)
California Wonder Pepper (American Seeds)
Others:
Sunflower tall (Groco Seeds)
Baby Pumpkins-Mini Jack (Renee's Garden)
Sugar Pie Pumpkin (Lily Miller)
Lunaria (Burpee)
Flax (Groco Seeds)

Today, OSH (known as Orchard Supply Hardware) had a buy one get one free houseplant sale. I was super excited because I have never seen a houseplant sale like this before. So I got up this morning and went to my local OSH and there were racks upon racks of houseplants that were BOGIF.
I picked up two pothos, one coradatum philendendrom, and one creeping Charlie plant which is also known as ground ivy. I plan on putting the philendendrom in my master bathroom which gets lots of morning sunlight. One of the pothos and creeping Charlie plants I plan on putting in my craft room and the other pothos in my living room. I hope my husband does not mind! Hehe. I’ll post pictures later.
I also got some seeds and Atlas fish emulsion for my veggies and seedlings. I’ve never tried this brand before so we’ll see how well it does in my garden. I’ll post a review later this season.
I got five more Renee’s Garden seed packets. The varieties are called: Renee’s Caeser Duo (green and red romaines), Mini Jack (baby pumpkins), Two Color Fiesta (Mexican tomatillos), Sweet Armenian (cucumbers), and Neon Glow (rainbow chard).
I also noticed that the corn, bean and cucumber seeds I pre-germinated have sprouted. I’ll have to pot them up in their own six pack later tonight. I was surprise at how fast these sprouted because I’ve heard they take a while. By pre-germinating my seeds, I’m not wasting space in my trays. One my biggest pet peeves are putting trays of dirt underneath the grow lights only to have 20-30 percent of seeds that have germinated. This year I am being proactive and making sure that all the spots on the trays have a plant. We’ll see how that goes though....Until next time, happy gardening.
This year I decided to purchase some seeds from Renee's Garden.
My local garden center has a large rack of Renee's seeds and I tend to migrate over to this rack because of the beautiful and elegant seed packet design. The front of the seed packets have the name of the plant and a neat colored illustration of the plant. The back of the packet has the usual growing instructions but unlike other seed packets, they provide notes, tips, harvest and use instructions which is very helpful to a new gardener like myself. In addition, the back of the packets includes an insert that thoroughly describes what you're growing.
Since I am mainly a veggie grower. I picked out some veggie seeds to buy. I bought some little gem lettuces, tri-color pole beans and little prince eggplants. The price was $2.00 a packet (they were on sale this week...the normal purchase price is $2.69) and the quantity of seeds was surprisingly abundant. The tricolor pole bean packet was full of beans, the little gem lettuces had plenty of seeds (so much I don't expect I'll have to buy another packet for years!), and the little prince eggplant came with around 30-40 seeds (enough for a couple of years of plants).
I was pleasantly surprised with Renee's Garden seeds and would recommend them to any gardener! I'll post updates on how well my plants grow this year. I hope for the best. Thank you Renee's Garden Seeds.
The weather here is just so lovely. It's been in the high 60's and low 70's and nice and sunny. My only hope is it will last. Unfortunately, the weatherman said that it will rain this Sunday :( It was good while it lasted though.
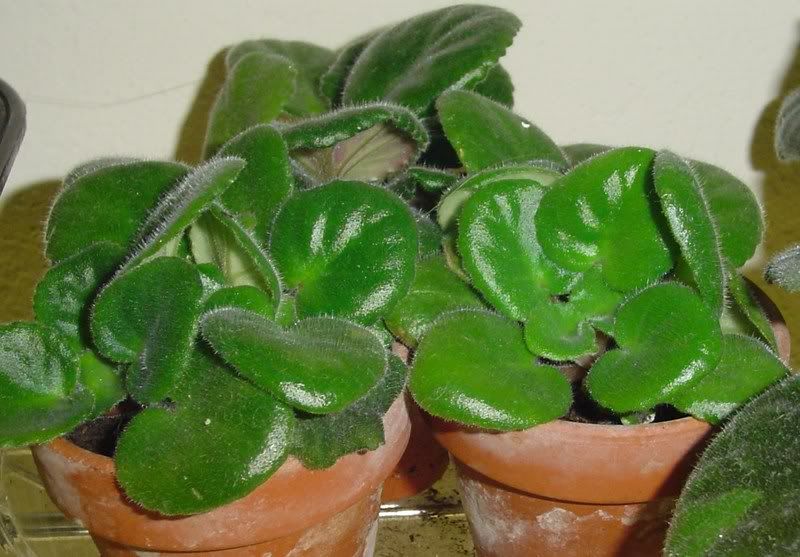
For Valentines, my fiancee bought me an African Violet. I don't like the idea of buying cut flowers since they'll be dead in a couple of days. An African violet will last me much longer than cut flowers. He also got me some gardening gloves, bearded iris bulbs, and a gardening pot (for the bulbs). It was a lovely and thoughtful gift!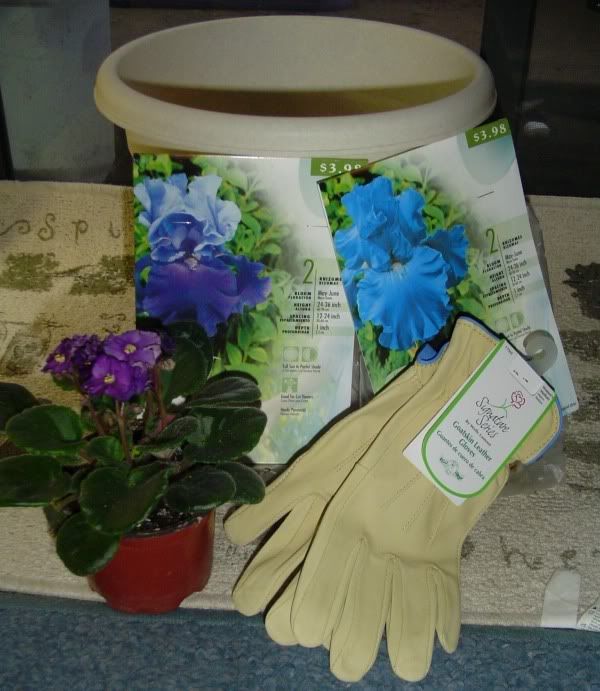
In this weekend's ads, OSH (Orchard Supply Hardware) had a 10% off sale on all seed starting supplies so I stopped in before work this morning. I didn't see anything I really wanted but instead i saw this beautiful spider plant. It was in a huge hanging pot and was so heavy to lift. I bought it for my grow shelves. It already had some baby spider plantlets, which I hope to pot up and make more spider plants as gifts. I'm going to try the propagating technique known as layering. I'm excited to see if it works! 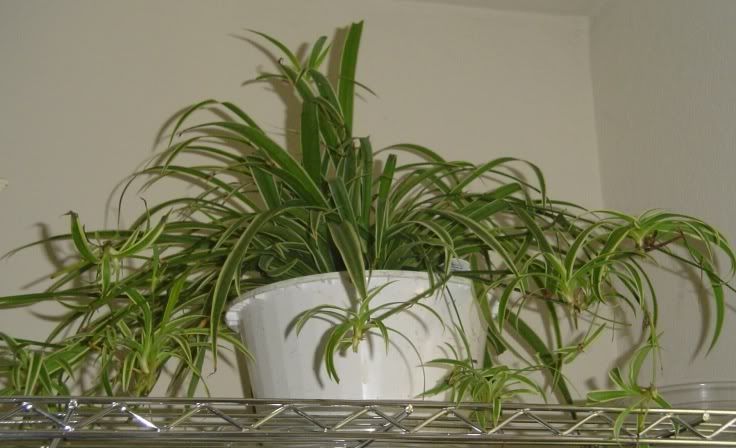
I also transplanted some seedlings in bigger containers. I was using jiffy peat pellets and the roots were hanging out of the netting so I moved them to red plastic cups.
I started some tomato and petunia seeds the other night. I find seed starting relaxing and fun. I spent over 2 hours in the kitchen preparing, planting, and labeling. Here's the list of things I planted:
Over the weekend, my bf bought me a grow light set up and since he's an electrician, he wired it up so there are switches for me to turn on and off. He's so sweet! I'll have to post some pictures! I love it!!!!
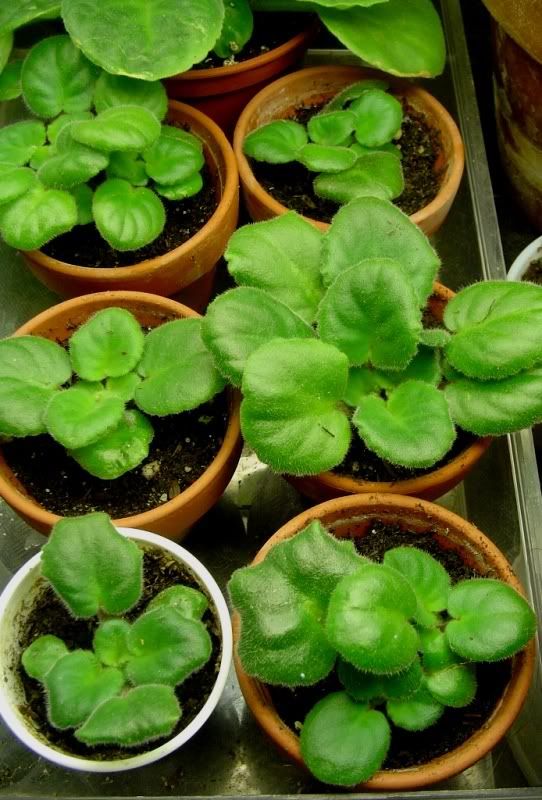
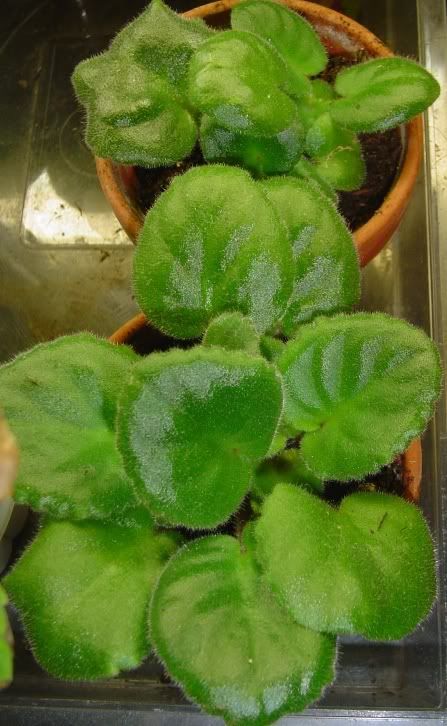
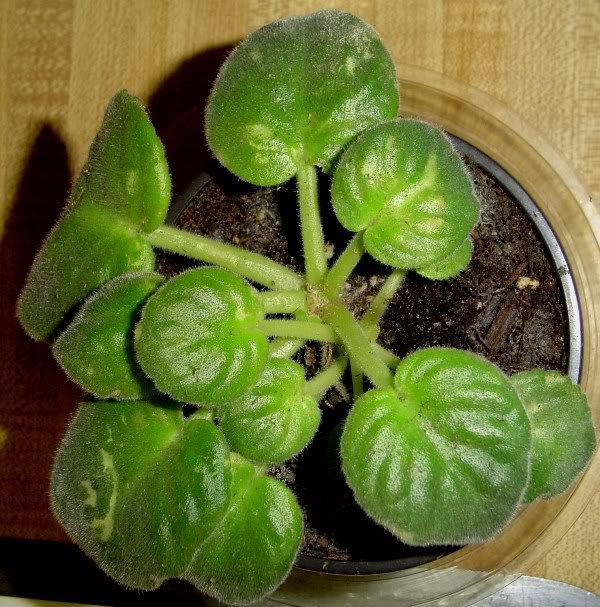
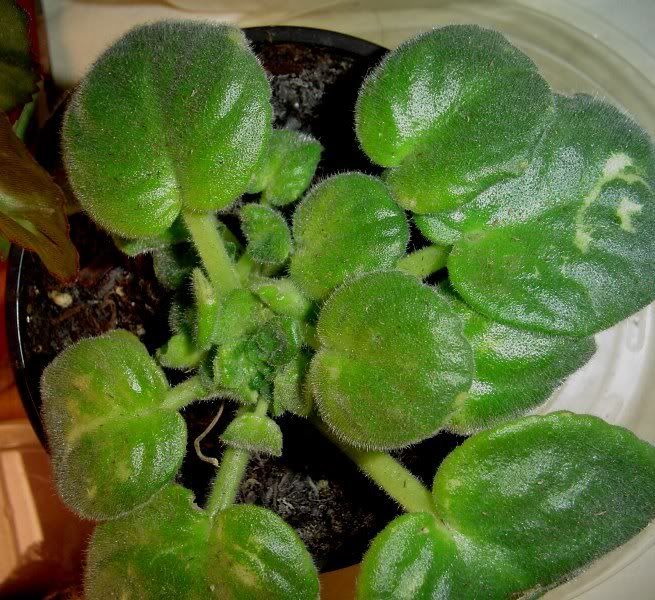 Here is a picture of the suckers that were removed and potted up in seed starting soil. I hope they root and make me more African Violets.
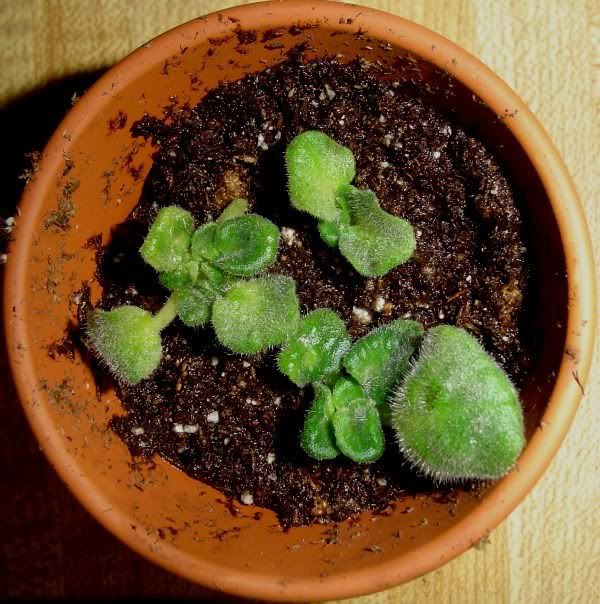
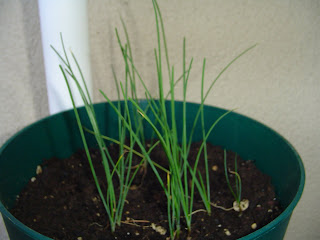
My first gardening experience was in 2005. I went out and bought a Jade plant and a Hawaiian schelferra for my apartment. I then wanted to grow some chives so I went out and bought some seeds for $.79 and a jiffy pellet set with 12 spots for peat pellets. Since then, I have been hooked with gardening. At first, I was more interested in vegetable gardening but now I'm into anything that grows! I soaked the little pellets and planted the chive seeds being careful to get at least 1-2 seeds in each pellet. I stuck it on top of my fridge and a couple of days later, they sprouted. I left them on top of my fridge because I wanted them to get bigger. That was my first gardening mistake. The seedlings became leggy and to correct that error, I used an old college lamp I had to give it some light.
Here is a look of my chive seeds when they sprouted.
This is my first plant I grew from seed! Chives. They were super easy and it looks like they're growing quite well.